Mastering Your Holiday Crafts with Watercolour Poinsettia Gingham Ribbon
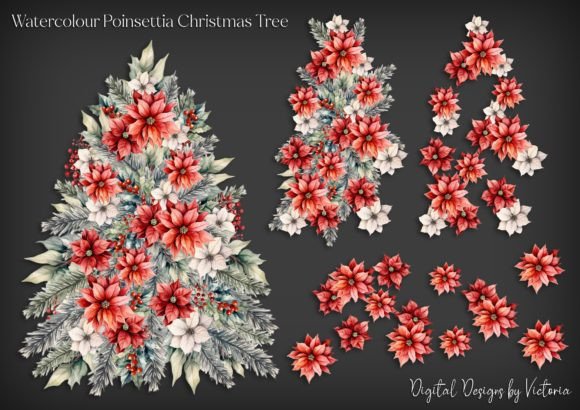
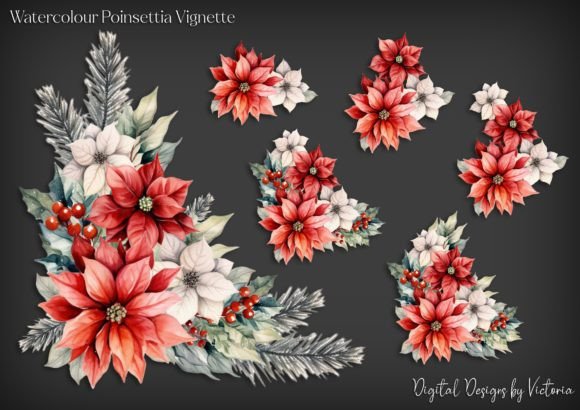
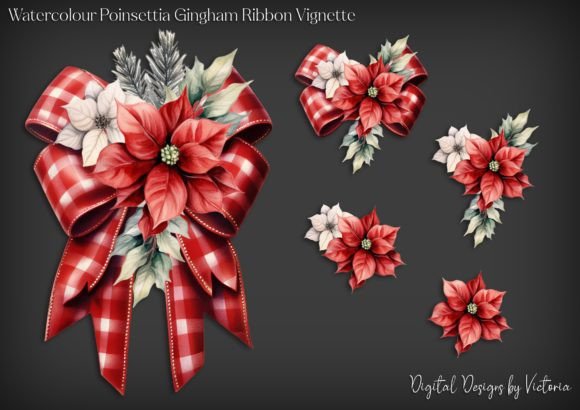
The holiday season brings a rush of creativity, but it also invites a specific set of challenges for crafters and small business owners alike. When you are looking to elevate your projects, the Watercolour Poinsettia Gingham Ribbon offers a perfect blend of traditional festive charm and modern design sensibility. This digital ephemera combines the soft, organic feel of hand-painted florals with the structured, cozy aesthetic of classic gingham patterns. However, simply downloading a file is not enough to guarantee professional results. Many creators, from beginners to seasoned entrepreneurs, often overlook critical technical details that can undermine the quality of their final products. By understanding how to properly utilize these assets, you can avoid common pitfalls and ensure your card making, junk journaling, and scrapbooking projects look as polished as possible.
Understanding the Value of Layered Digital Assets
At first glance, a digital ribbon clipart might seem like a simple image, but the utility lies in how the file is constructed. The Watercolour Poinsettia Gingham Ribbon collection is designed with versatility in mind, typically providing six individual PNG files where each layer sits on its own transparent background, plus one grouped file for easier resizing. This structure is intentional. It allows you to deconstruct the image, using just the poinsettia bloom without the ribbon, or perhaps isolating the gingham bow for a different layout. A frequent mistake users make is treating these layered files as static, single-use images. By failing to separate the layers, you limit your design potential and may find yourself struggling to make elements fit within tight spaces on a greeting card or journal page.
Furthermore, the inclusion of a grouped file on a JPG background is a thoughtful addition for those who prefer "fussy cutting." This technique involves manually cutting around the printed image to create a dimensional embellishment. If you attempt to fussy cut from a file that lacks a solid background or has complex transparency issues, you risk tearing the paper or leaving unwanted white halos around your design. Always check which file format suits your intended application before you hit print. Using the JPG version for physical cut-outs and the transparent PNGs for digital layouts or decoupage ensures you are working with the right tool for the job.
Common Printing and Resolution Pitfalls
One of the most detrimental errors in digital crafting is ignoring resolution requirements. Every file in this collection is saved at 300 DPI (dots per inch), which is the industry standard for high-quality printing. Despite this, many users inadvertently resize their images in software that defaults to 72 DPI, the standard for web display. When you print an image at 72 DPI, the result is often pixelated, blurry, and unprofessional. This is particularly noticeable with watercolour textures, where the subtle gradients and soft edges should appear smooth, not blocky. To avoid this, always verify your document settings in your design software. Ensure that when you place the Watercolour Poinsettia Gingham Ribbon into your canvas, the scale remains appropriate for the 300 DPI source file.
Another oversight involves color management. Screens emit light, while printers use ink. The vibrant reds of the poinsettia and the crisp lines of the gingham may look slightly different on your monitor compared to the printed page. Beginners often panic when the printed color doesn't match the screen exactly, assuming the file is flawed. In reality, this is a normal part of the printing process. To mitigate disappointment, perform a test print on the same paper stock you intend to use for your final project. This allows you to adjust brightness or contrast settings if necessary, ensuring the watercolour effect retains its delicate beauty without becoming muddy or oversaturated.
Maximizing Versatility Across Different Projects
The true power of this ephemera lies in its adaptability, yet many creators restrict themselves to a single use case. While these files are undeniably lovely for card making, limiting them to just holiday greetings ignores their potential in junk journaling and scrapbooking. In a junk journal, the layered nature of the files allows you to create depth. You can print the gingham ribbon on one sheet and the poinsettia on another, then adhere them separately to create a genuine 3D effect without the bulk of foam tape. For scrapbookers, the transparent backgrounds mean these elements can be overlaid directly onto photos or patterned papers without unsightly white boxes interrupting the visual flow.
Entrepreneurs and marketers selling handmade goods should also consider the branding opportunities here. Using the grouped file for product tags or packaging inserts can add a cohesive, professional touch to your shop. However, a common misstep is overusing the same asset across every product, leading to a repetitive brand image. Rotate your designs; use the isolated poinsettia for one product line and the full ribbon assembly for another. This approach keeps your inventory looking fresh and demonstrates attention to detail, which customers appreciate.
Checklist for Successful Implementation
Before you begin your next project, take a moment to review your workflow. Ensuring you get the best results from your Watercolour Poinsettia Gingham Ribbon requires a bit of preparation. Here are the essential steps to verify:
- Verify File Integrity: Open all six PNG files and the grouped JPG immediately after download. Confirm that the transparency is intact and no artifacts are present around the edges.
- Check Print Settings: Explicitly set your printer preferences to "High Quality" or "Photo" mode and ensure the scaling is set to 100% to maintain the 300 DPI resolution.
- Select Appropriate Paper: For fussy cutting, choose a cardstock with enough weight to hold its shape. For digital layering, a matte photo paper often captures watercolour textures better than glossy finishes.
- Plan Your Layers: Decide beforehand which elements you need. If you only need the bow, isolate that layer digitally before printing to save ink and paper.
- Test Colors: Run a small test strip to check color accuracy, especially for the deep reds and greens typical of poinsettias.
By approaching your crafting with a mindset focused on technical precision and creative flexibility, you transform a simple digital download into a versatile toolkit. The Watercolour Poinsettia Gingham Ribbon is more than just a festive image; it is a resource that, when used correctly, can significantly enhance the perceived value and aesthetic appeal of your work. Whether you are assembling a heartfelt family album, creating inventory for a holiday market, or designing a custom invitation, paying attention to these details ensures your final output reflects the care and skill you put into the process. Avoid the urge to rush the setup phase; the time invested in understanding your files pays dividends in the quality of your finished creations.